
Waxing at home has become increasingly popular, with over 60% of people now preferring DIY beauty routines for their convenience and cost-effectiveness. The pandemic-driven shift to remote work has only accelerated this trend, transforming many bathrooms into mini-salons. But let’s be honest – without proper technique, at-home waxing can quickly turn into a sticky disaster.
- Whether you’re a waxing newbie or looking to perfect your technique.
- This guide will walk you through everything you need for professional-quality results without leaving your home.
- We’ll cover the latest dermatologist-approved methods, product innovations, and step-by-step instructions for different body areas.
The Science Behind Successful Waxing
Recent dermatological research confirms that waxing remains one of the most effective temporary hair removal methods. Unlike shaving, which cuts hair at the surface, waxing removes it from the root, resulting in slower regrowth and increasingly finer hair over time. Most people enjoy smooth skin for 2-4 weeks after waxing, compared to just days with shaving.
The key to minimizing discomfort lies in newer wax formulations. Leading brands like Tress Wellness have incorporated natural anti-inflammatory ingredients such as olive oil and jojoba oil, which studies show can significantly reduce post-wax redness and irritation. These plant-based additions create a more comfortable experience while delivering professional results.
Essential Preparation: Setting Yourself Up for Success
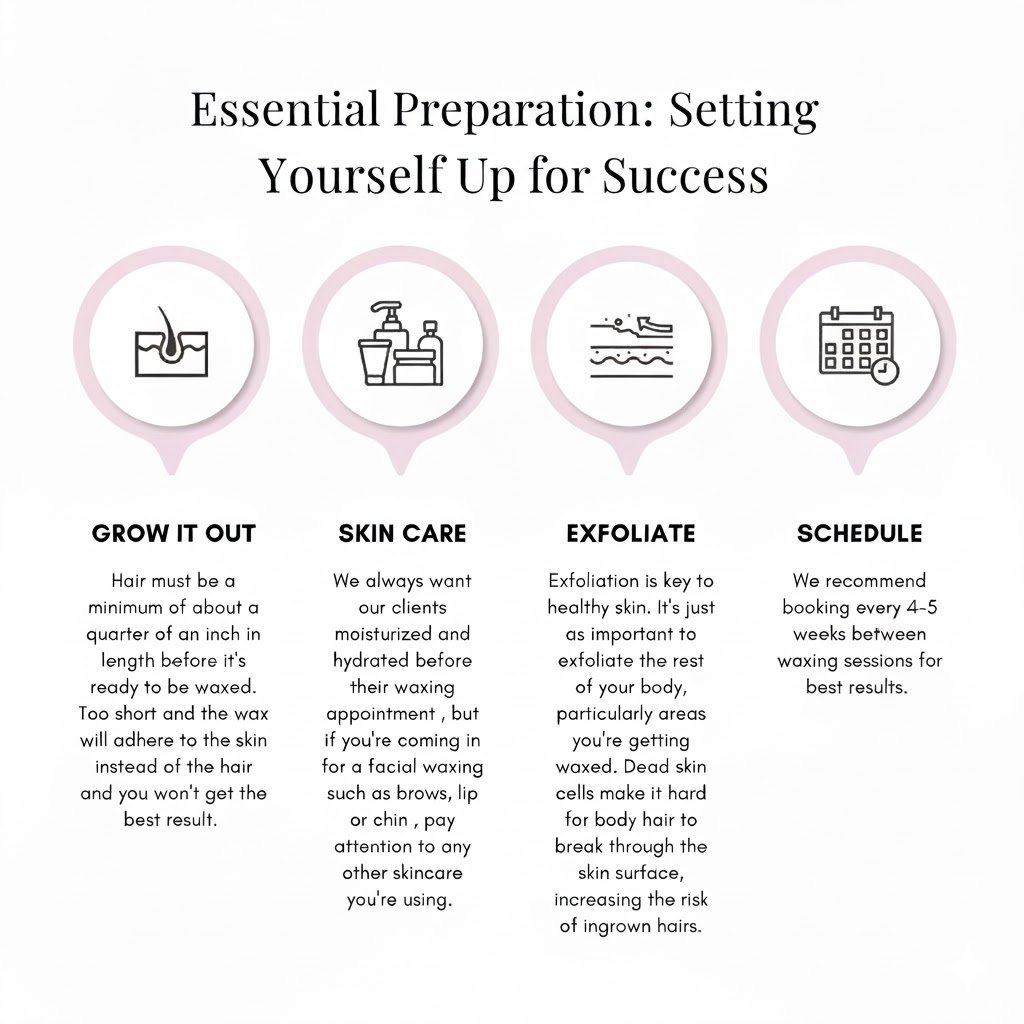
The difference between a smooth waxing experience and a painful one often comes down to proper preparation. Follow these steps for best results:
1. Get your hair length right
The ideal hair length for waxing is between ¼ and ½ inch (6-12mm). Too short, and the wax won’t grab properly; too long, and you’ll experience unnecessary pain. If your hair is longer than recommended, trim it carefully with scissors rather than shaving, which would require waiting several weeks before waxing.
2. Cleanse and exfoliate
Clean skin allows wax to adhere better to hair rather than oils or dead skin cells. Gently exfoliate 24 hours before waxing (not immediately before) using a mild scrub or exfoliating glove. On waxing day, wash with a pH-balanced cleanser and make sure skin is completely dry before starting.
3. Create the right environment
Set up a comfortable space with good lighting and all supplies within reach. The room temperature matters too – being too cold can cause goosebumps that make waxing more difficult, while being too warm may make you sweat, interfering with wax adhesion.
4. Pre-wax skin prep
Apply a thin layer of powder (cornstarch works well) to absorb moisture or a specialized pre-wax oil to create a barrier between the wax and skin, reducing irritation. This step is especially important for sensitive areas like the bikini line or underarms.
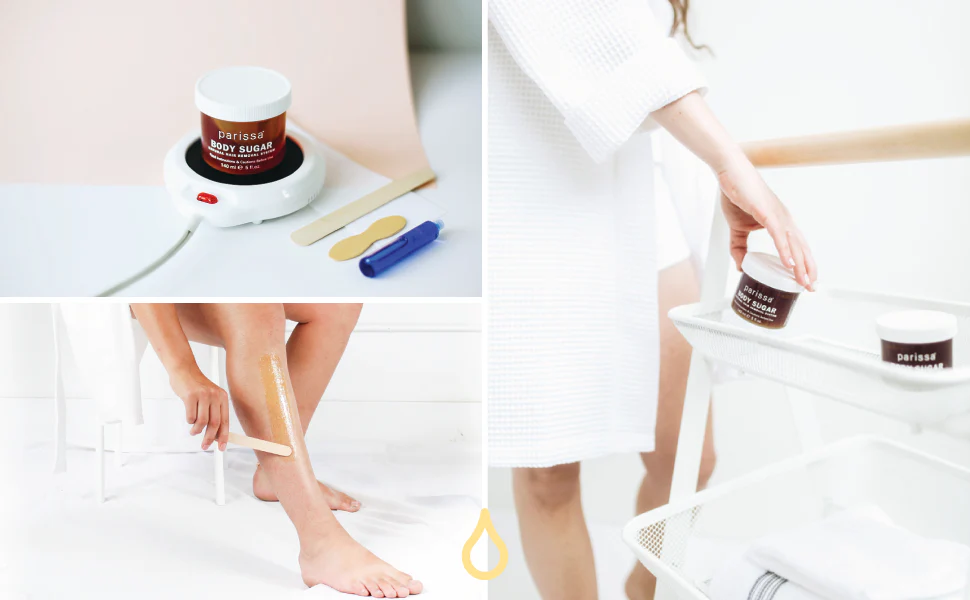
Choosing the Right Wax for Your Needs
The market has evolved significantly since 2023, with two main types of wax dominating the at-home scene:
Hard wax (no-strip wax)
Hard wax hardens on its own and is removed without strips. It’s ideal for sensitive areas like the bikini line, underarms, and face because it wraps around the hair rather than sticking to skin. The latest formulations include skin-soothing ingredients like chamomile and olive oil that minimize redness while providing excellent grip on coarse hair.
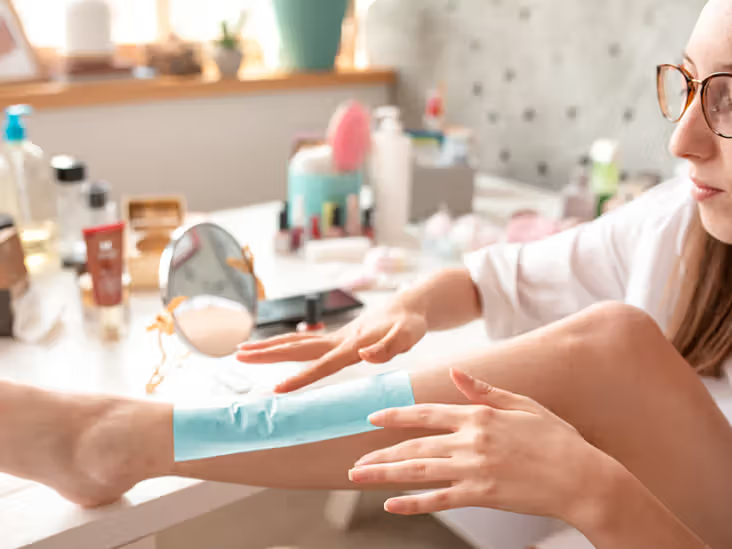
Soft wax (strip wax)
Applied in a thin layer and removed with cloth or paper strips, soft wax is perfect for larger areas like legs and arms. It removes very fine hairs effectively but can be more irritating on sensitive skin. The newest generation of soft waxes incorporates hyaluronic acid and colloidal oatmeal to maintain skin hydration during the process.
- Digital wax warmers with precise temperature control have revolutionized the at-home experience by eliminating guesswork.
- Many now come with smartphone connectivity to maintain optimal temperature throughout your session – too cool and the wax won’t spread properly; too hot and you risk burns.
Body Waxing Process Technique for Different Body Areas
Legs and Arms
Start at your ankle (for legs) or wrist (for arms) and work upward in sections about 4 inches wide. Apply wax in the direction of hair growth using a thin, even layer. Press the strip firmly over the wax, leaving a small tab at the end for gripping. Hold skin taut with one hand while quickly pulling the strip against the direction of growth with the other. Keep the strip parallel to the skin rather than pulling up.
Face
Use only wax specifically formulated for facial hair, which is typically gentler and applied at a lower temperature. Work in very small sections, especially around the eyebrows. For upper lip waxing, divide the area into thirds for more controlled removal. Always support the skin with your free hand to minimize pain and prevent sagging over time.
Bikini Area
This sensitive area requires extra care. Hard wax is strongly recommended here. Apply a pre-wax oil liberally. Create a mental map of small sections to work through methodically. Pull skin extremely taut to reduce pain, and remove the wax quickly in the opposite direction of hair growth. For first-timers, start with the less sensitive outer bikini line before attempting more intimate areas.
Underarms
Hair grows in multiple directions here, making it one of the trickiest areas. Use a mirror and good lighting. Apply hard wax in small sections, working in the direction of hair growth (you may need multiple directions). Stretch the skin by raising your arm above your head and pulling from the elbow with your free hand. Remove quickly and firmly.
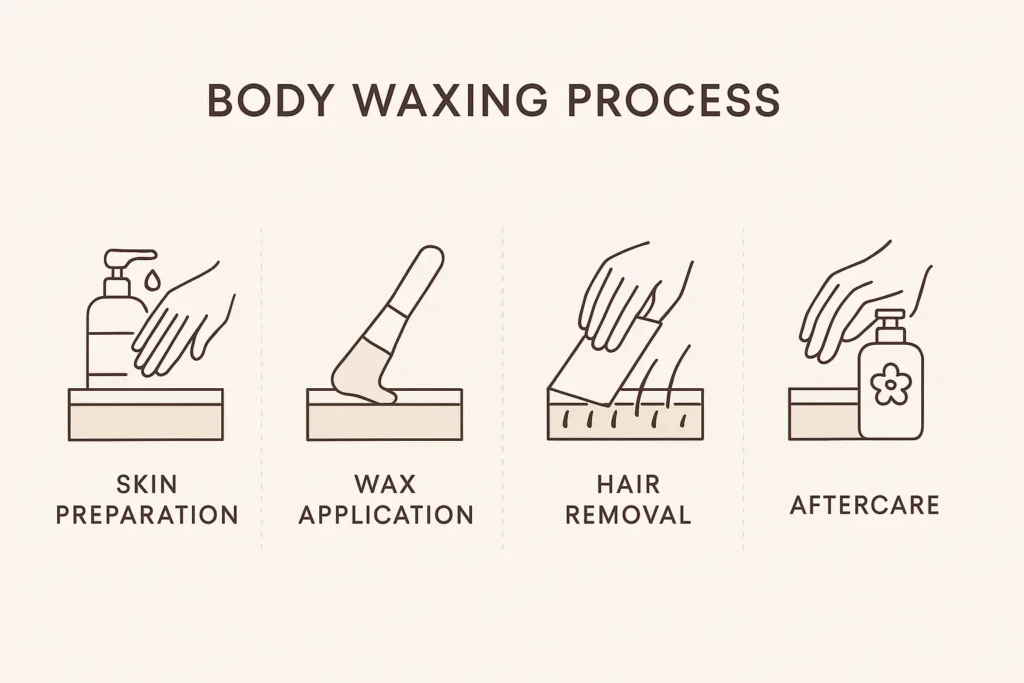
After-Wax Care: Essential Steps for Healthy Skin
What you do after waxing is just as important as the waxing itself. Follow these evidence-based aftercare steps:
Immediately after removing wax, apply gentle pressure to the area to alleviate stinging. Clean any residual wax with a post-wax oil (not alcohol, which can be excessively drying). Apply a soothing, fragrance-free product containing anti-inflammatory ingredients like aloe vera, azulene, or colloidal oatmeal.
For the next 24-48 hours, avoid hot baths/showers, swimming pools, saunas, intense exercise, and direct sun exposure. Wear loose-fitting clothing to prevent friction against newly sensitive skin. If you notice minor redness or bumps, apply a cold compress or cooling gel with aloe vera.
Troubleshooting Common Waxing Problems
Even experienced waxers encounter challenges occasionally. Here’s how to address the most common issues:
Ingrown hairs: Begin regular exfoliation 48 hours after waxing, using either a gentle physical exfoliant or chemical exfoliant with AHAs or BHAs. Products containing glycolic acid or salicylic acid can be particularly effective.
Broken hairs: This typically happens when hair is too short or the wax isn’t removed quickly enough. Ensure proper hair length and practice your removal technique – one swift, decisive motion parallel to the skin works best.
Excessive redness or irritation: If you experience unusual irritation, apply a 1% hydrocortisone cream and cold compresses. For future sessions, consider a patch test with different wax formulations designed specifically for sensitive skin.
At-home waxing has come a remarkably long way since its early days. With today’s advanced formulations, digital tools, and proper technique, you can achieve salon-quality results in the comfort of your home. Remember that practice makes perfect – each session will likely be better than the last as you refine your technique.